Goal
It’s 2026, and achieving even the most basic colour-managed wide colour gamut experience on Windows is still not a plug-and-play affair. The wide gamut display you’ve bought will most likely either have no colour management at all under Windows, or be clamped down to the sRGB gamut.
To verify this, you can visit a classic test website. The images on that site are embedded with a P3 gamut ICC profile whose rendering intent is set to “relative colorimetric.” Relative colorimetric clipping will clip colours that exceed the target device’s gamut, so if the target device doesn’t support wide colour gamut, the pattern won’t be visible.
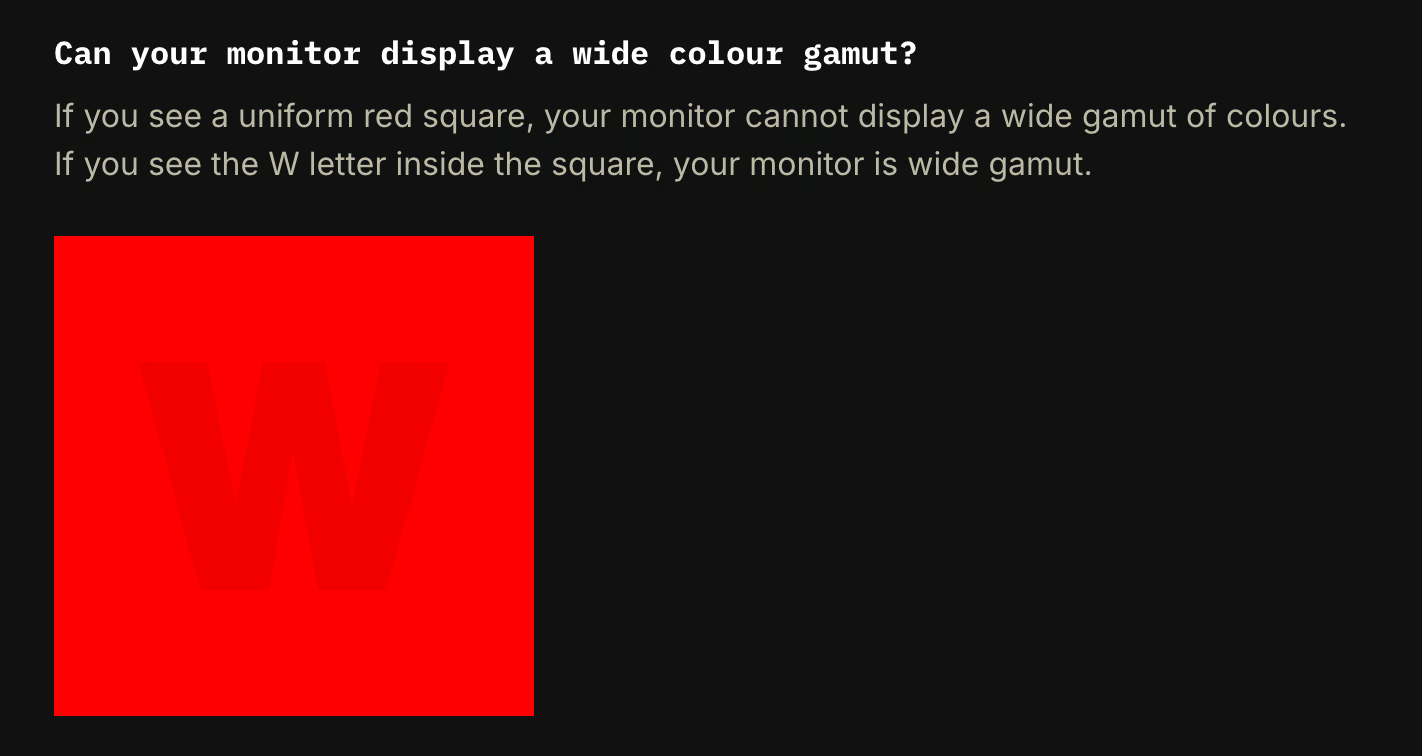
It’s important to note that “supports wide gamut” and “is physically wide gamut” here are neither sufficient nor necessary conditions for each other: even if a device doesn’t actually support it, if it declares itself as P3 gamut, the pattern will be visible; conversely, even if a device is physically wide gamut, if it hasn’t declared itself as such, it will still fall back to sRGB marking, resulting in only a vivid solid colour being visible.
Therefore, my goal is to have Windows achieve basic wide colour gamut colour management, given that the physical capabilities are clear, so that the pattern on the test website is visible. macOS users don’t need the methods described here—just reset the display to its default settings, plug it in and use it. The methods described here are, to some extent, learning from macOS’s approach.
Step 0: Disable ACM
Windows introduced Auto Colour Management (ACM) in 22H2. This feature claims to enable colour management, “ensuring your apps and other content have accurate colours on this display.”
When enabled, Windows first clamps the display to sRGB at the software level based on the display’s EDID information. Then, for applications that haven’t been adapted for ACM, it returns empty when they request the system ICC, letting them default to sRGB, thereby achieving colour management and eliminating the oversaturation that occurs when no colour space is tagged.
However, browsers like Chrome still hadn’t formally supported ACM as of April 2026. With ACM enabled, Chrome also gets an empty response when requesting the system ICC and defaults to sRGB marking. On the test page, only sRGB colours are displayed, so the pattern cannot be seen. ACM achieves correct sRGB content display on wide gamut displays at the cost of abandoning wide gamut altogether.
To properly display wide gamut content, given that most applications don’t support ACM and are therefore clamped to sRGB, it’s recommended to disable ACM.
Approach 1: Display P3
If you had to pick the most representative wide gamut space today, it would most likely be Display P3. After nearly a decade of Apple’s relentless promotion, all sorts of monitors now advertise their P3 coverage and include a colour space option in the OSD, supporting hardware-level clamping of the display gamut to Display P3. If your monitor has a good Display P3 mode and can cover the P3 space, this approach is worth considering.
The principle is straightforward: clamp the monitor hardware to the Display P3 gamut, then declare it as Display P3 space in the operating system using an ICC profile. This way, applications that support ICC colour management can perform correct colour management.
The operation involves two steps:
- Adjust the colour space to Display P3 in the monitor’s OSD.
- Download the Display P3 ICC from the ICC official registry and add it in Windows’ Settings > Display > Colour Management menu.
After completing these steps, the pattern will be visible on the test page. Seeing the pattern is thanks to step 2 loading the ICC; step 1 gives it physical meaning. This method is suitable for monitors that have a good Display P3 mode.
Approach 2: Create an ICC from EDID
EDID: Extended Display Identification Data. The source reads information such as the display’s resolution and refresh rate via the DDC channel, including the chromaticity coordinates of the primaries and white point.
EDID contains the display’s primary chromaticity coordinates and white point information, which can simply describe the display’s gamut. Similar to Approach 1, corresponding data is used to describe the display’s wide gamut state.
When a Mac is connected to an external display, a colour profile named after the display appears in the system settings’ display options. macOS clearly can’t pre-install ICC profiles for every display in the world—this colour profile is created on the spot by macOS based on the display’s EDID at the time of connection. Therefore, when using a Mac with an external display, you should adjust the display hardware to match the state indicated in the EDID, rather than performing hardware-level gamut clamping.
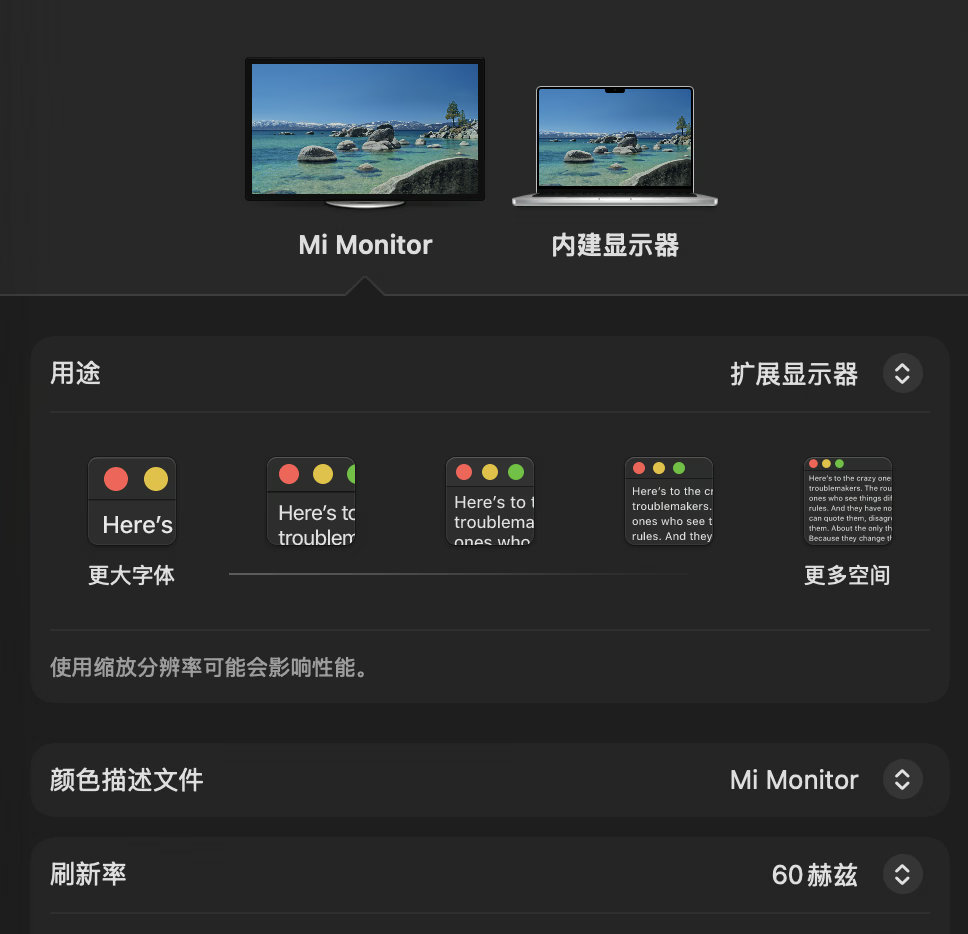
Windows also reads the display’s EDID information and saves it to the registry. Just as macOS saves ICC profiles for all connected displays, Windows saves EDID data for all connected displays.
As long as you read the EDID and create an ICC file based on the information within, you can achieve colour management similar to macOS.
Again, the operation involves two steps:
- Adjust the display’s OSD settings to match what the EDID indicates—typically the default settings, or the display’s native gamut.
- Read the EDID and create an ICC, then add it in Windows’ Settings > Display > Colour Management menu.
After completing these steps, the pattern will be visible on the test page (provided the gamut indicated in the EDID is wide). Seeing the pattern is still thanks to step 2 loading the ICC. This method is suitable when the display has good channel independence and stable chromaticity coordinates, and the EDID markings are accurate.
There are 2.5 ways to read the EDID and create an ICC: DisplayCAL, manual operation, and—less commonly—some monitor manufacturers provide one on their official website.
DisplayCAL is a well-known monitor calibration and characterisation tool. Unfortunately, it has been discontinued for a long time. You can complete the EDID reading and ICC creation through “File > Create profile from extended display identification data.”
Manual operation requires reading the chromaticity coordinates and other information from the EDID in the registry, then converting to D50 white point using linear Bradford according to the ICC specification, and finally writing the four D50 primary chromaticity coordinates and the chromatic adaptation matrix into the ICC file.
The Future of Wide Gamut Management
Although macOS’s colour management system has its fair share of critics, it does solve the problem unobtrusively—at the very least, you don’t get the Windows situation where plugging in a new display out of the box means no colour management whatsoever. For Windows to achieve similar wide gamut colour management, it seems the only option is to wait for various applications that need wide gamut to support ACM; the rest, even if you do nothing, will automatically fall back to sRGB.
There’s actually another very simple approach: enable HDR. Even if a display doesn’t have particularly good HDR performance, enabling HDR allows Windows to achieve accurate, broadly compatible colour management. However, this requires more accurate display information and calibration. Currently, the HDR modes of mid-to-low-priced LCD displays still have some way to go.